Post by Seanstone on Jan 9, 2012 0:31:05 GMT -5
A month ago Rylan and I decided to create our own blog in order to share our experiences with others. It's still kinda preliminary but we have been working on it. A few weeks ago I wrote about maintianing abu garcia reels. Here's what I wrote.
Winter is one of the best times to clean your reels. Most people have packed away rods and reels and are awaiting the first sign of cabin fever. Last night and this morning I took apart and cleaned two of my reels, an Abu Garcia Ambasadauer 6000, and an Abu Garcia Ambasadauer 7000c3. I would like to note here, early, that its not a good idea to start tearing your $100-$180 reels apart. However with a few tools, a clean work space, a few q-tips, some paper towels, some rubbing alcohol, and some oil you can easily clean your reels. I begin each process with a clean workspace and my set of tools,easily stored in an old cast net container.
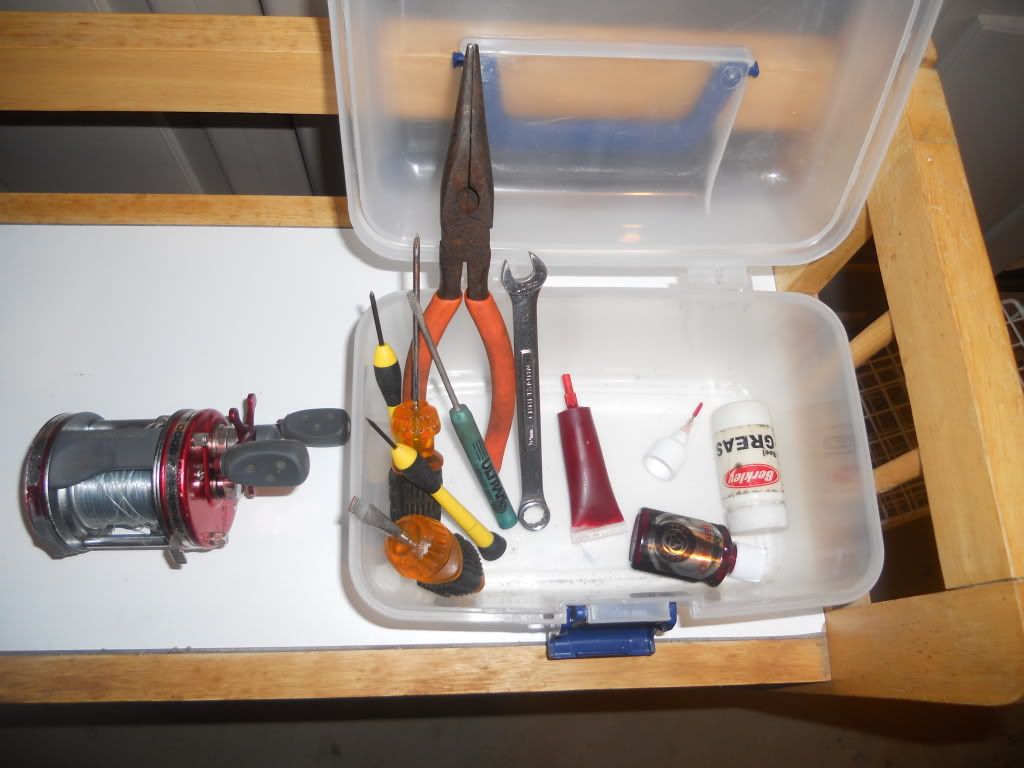
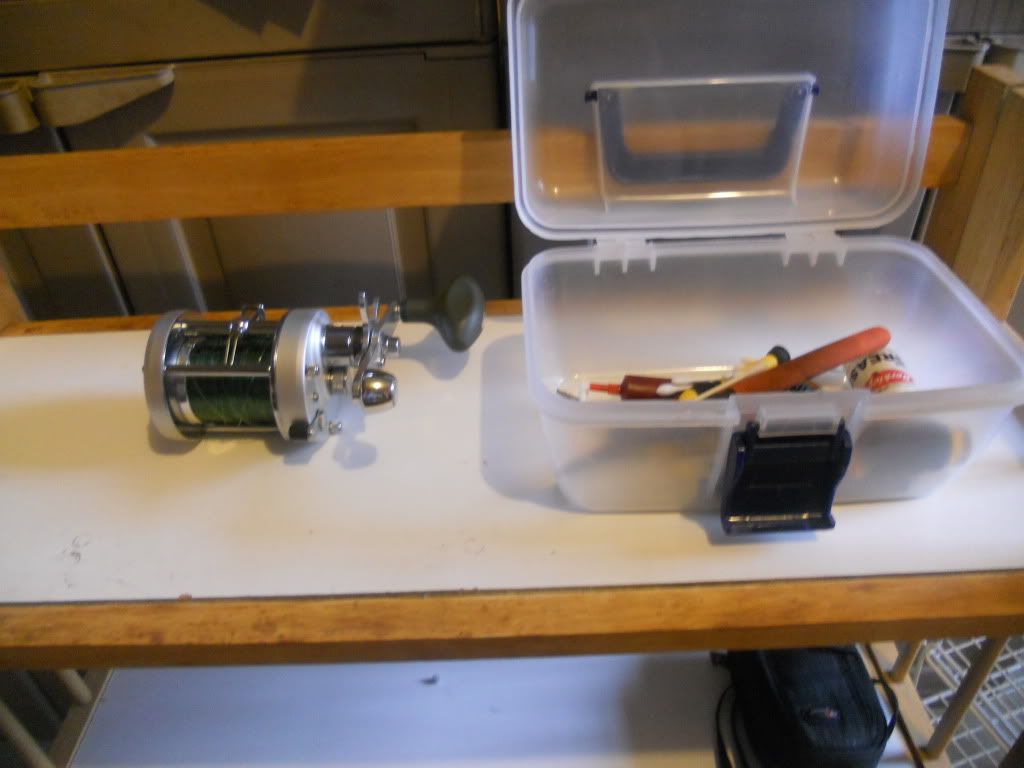
My tools include small phillips and flathead screw drivers, a 10 and 11 millimeter wrench, needle nose pliers, and oil/grease. I begin by taking the three screws off of the bait clicker side of each reel. This side of the reel is the simplest, and is easy to put back together, even for the mechanically inclined.
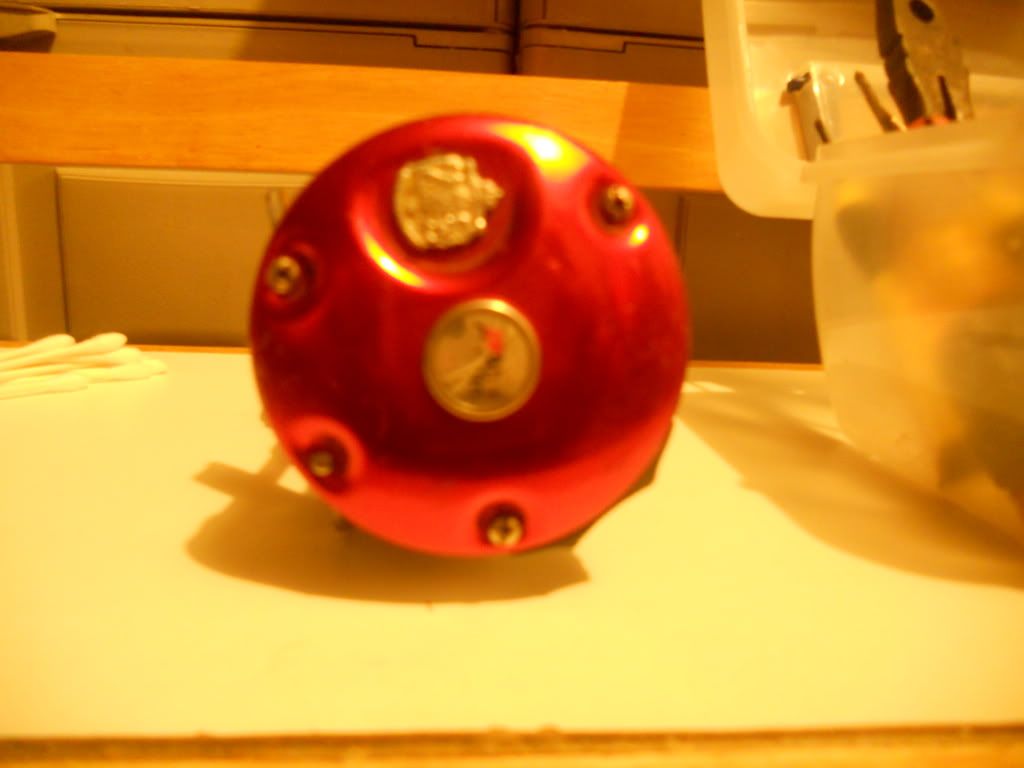
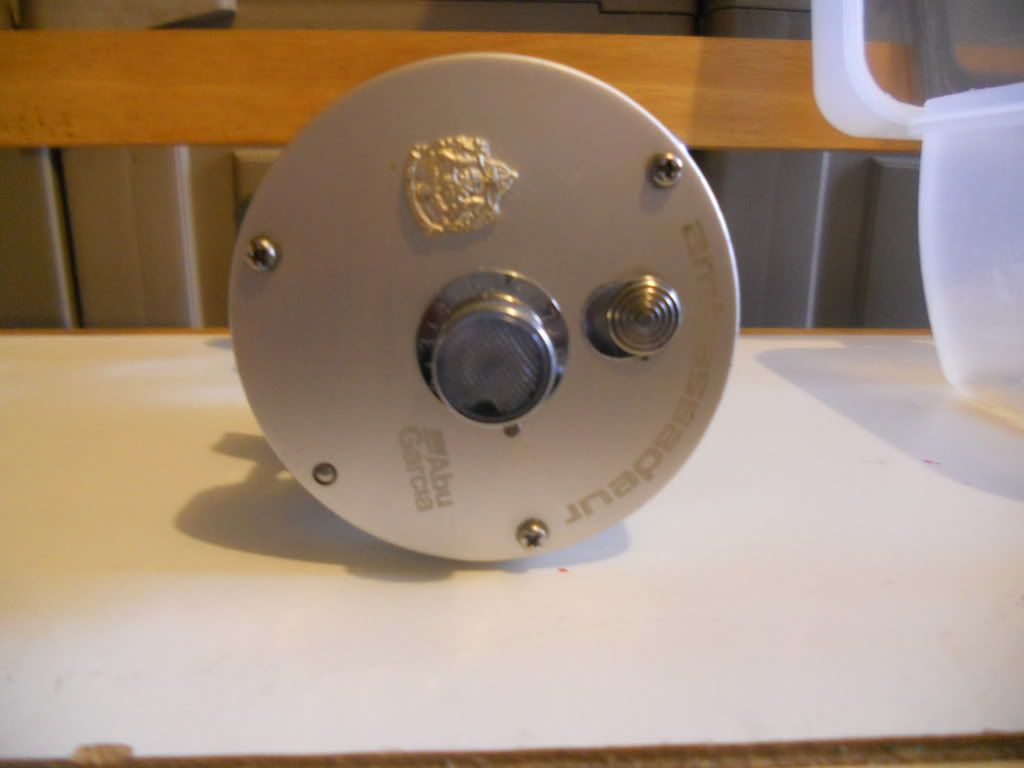
Once the screws are removed and set aside, you will see your bait clicker mechanism and your spool as shown below.
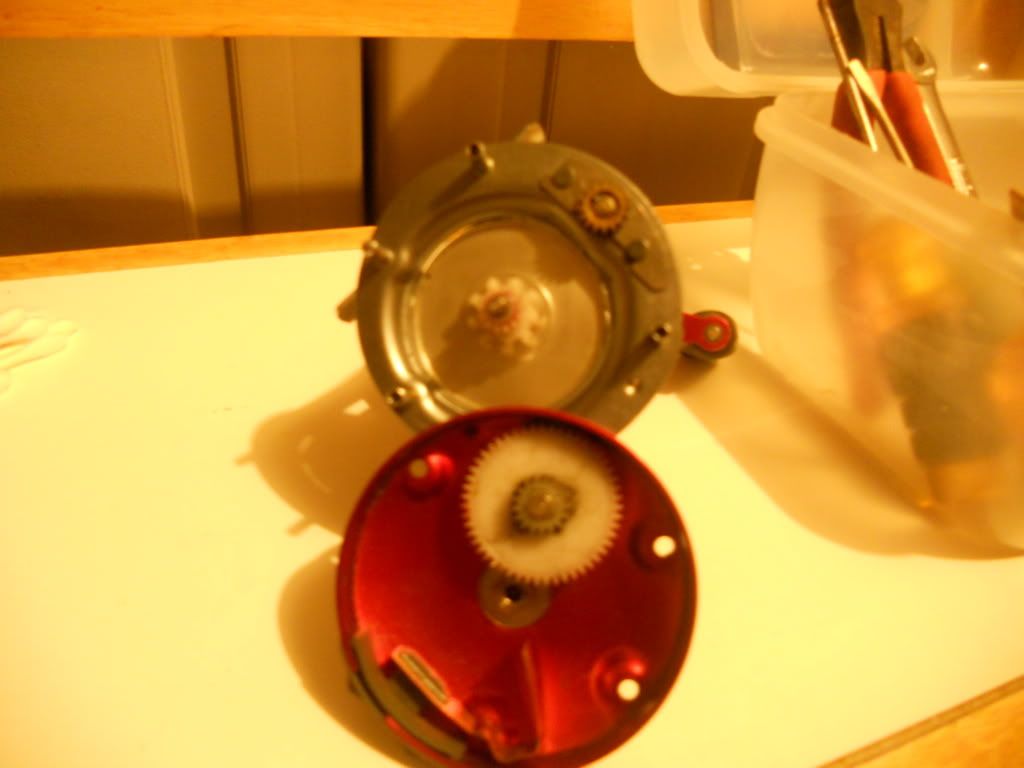
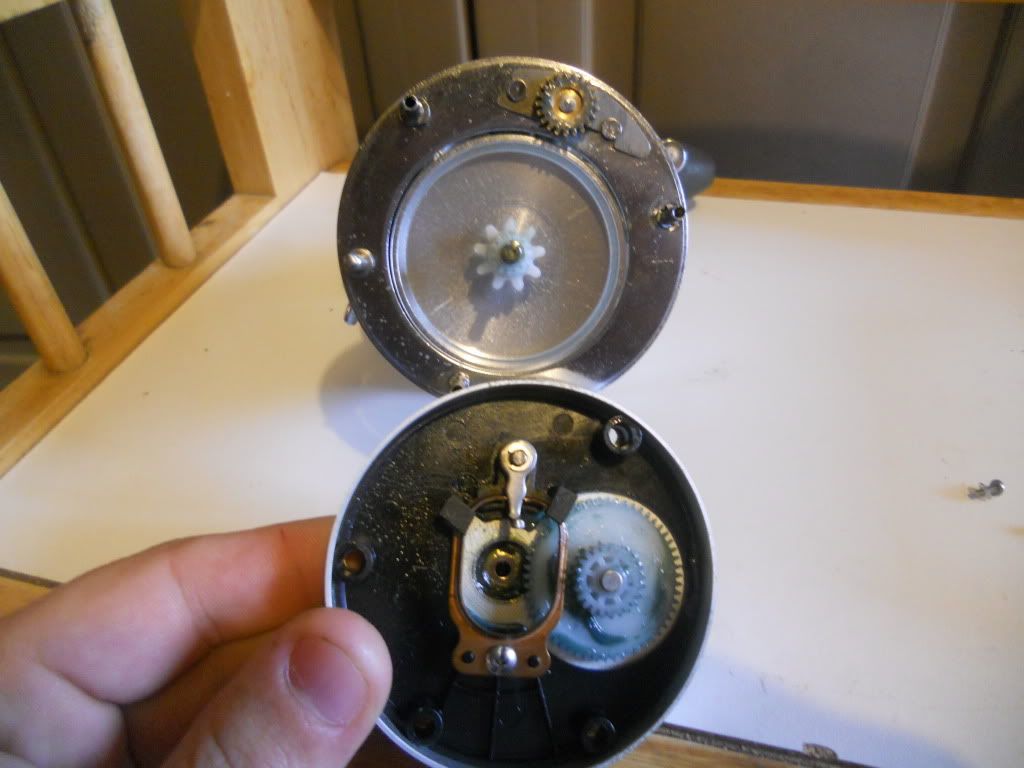
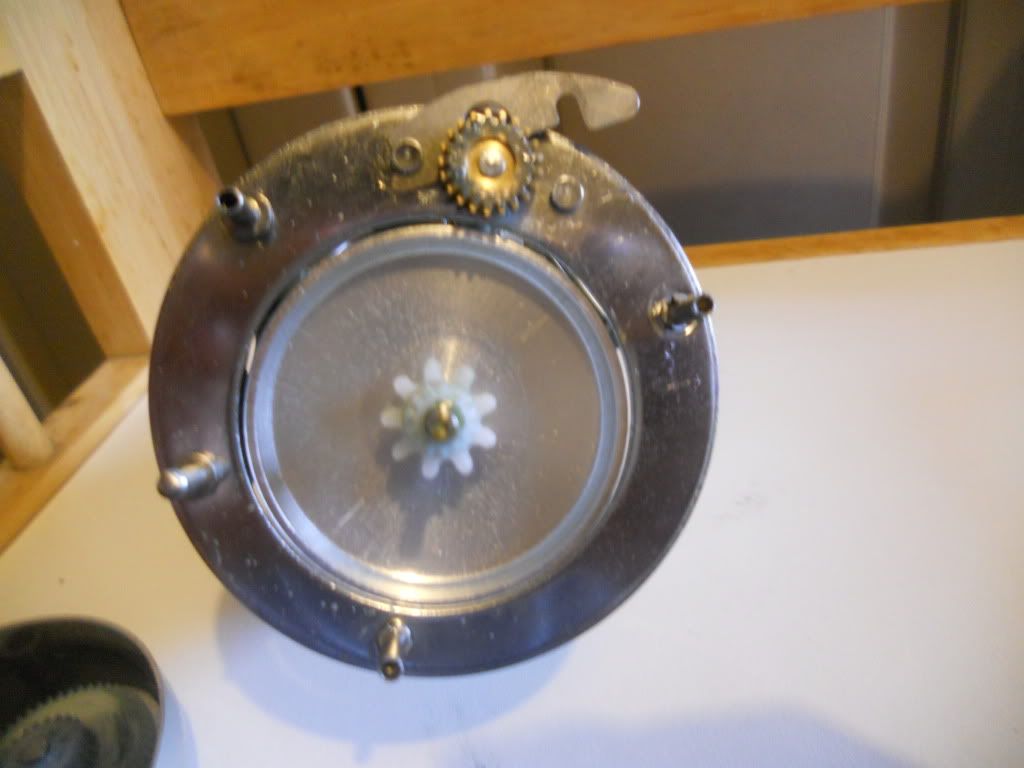
At this point you can remove any dust or sand that has accumulated inside your reel with a q-tip or paper towel and then oil lightly. It’s important to note here that Abu Garcia makes several different style clickers and for the most part they are simple. My abu 6500 has a side plate clicker, and my kalex 60 has a plastic sliding clicker mechanism. Both are fairly simple once you understand the mechanics. If you are unsure of how your reel will go back together once you tear it apart, you probably shouldn’t take it apart….or you can find the reel schematics online from <a href="http://www.abugarcia.com/" target="_blank">http://www.abugarcia.com/</a>.
The next step is to access the line pawl and the worm gear. First start by sliding the metal clip up and away from the end of the worm gear as shown. Next unscrew the line pawl cap and remove the line pawl with the needle nose pliers. Then slide the worm gear and the metal sleeve out. Lay them on the table in order to help you remember how each piece fits back together.
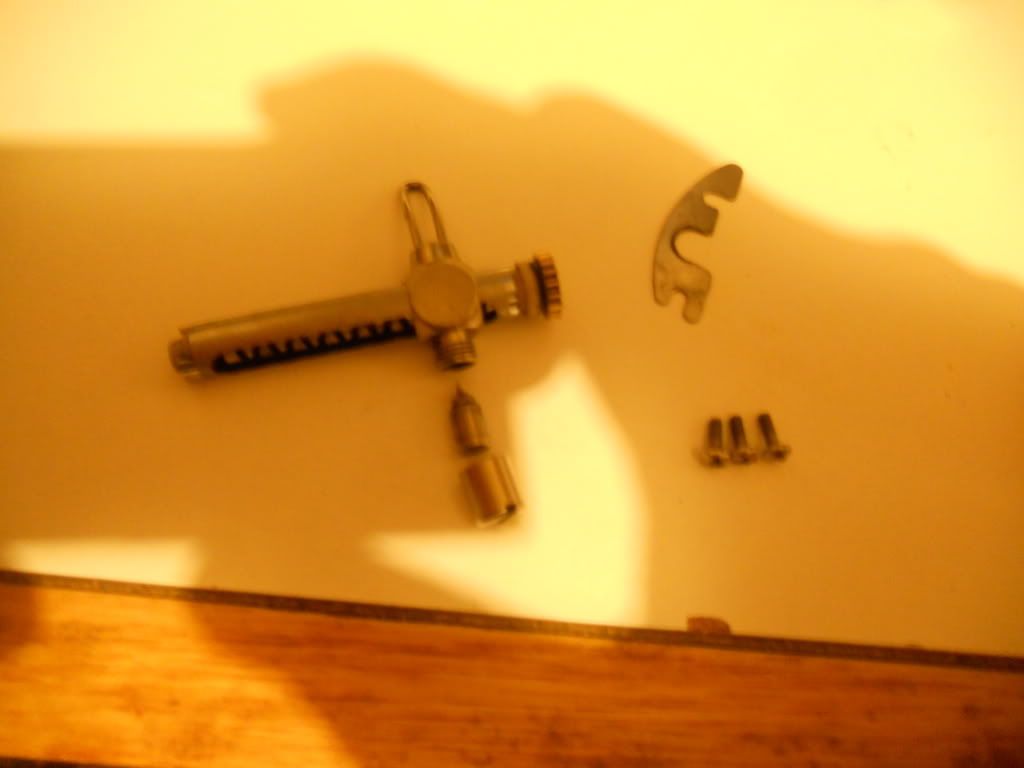
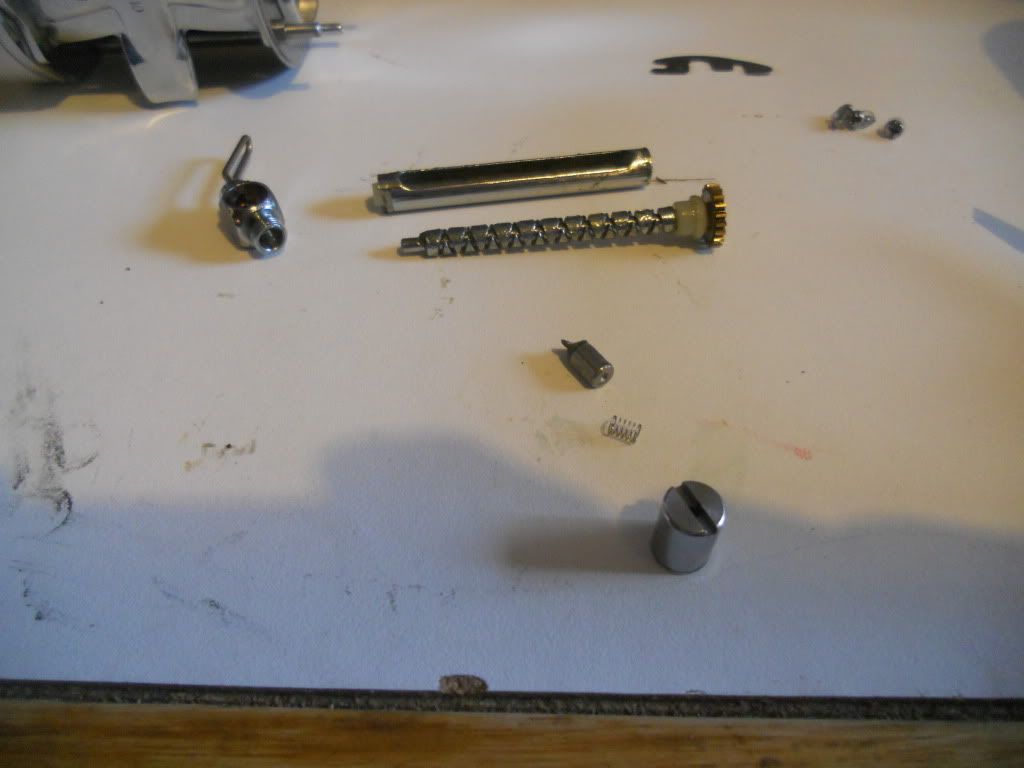
These parts are most apt to collect sand and dust. Hence the reason for line pawls needing constant replacement. You can tell if your line pawl goes out if your levelwind gets stuck on one side of your reel. The line pawl is made of a softer metal than the worm gear and therefore it wears over time. I think you can get them for about $4 from most Abu Garcia dealers, or bait stores. Clean the worm gear with warm soapy water and remove sand and grease from the sleeve using a q-tip.
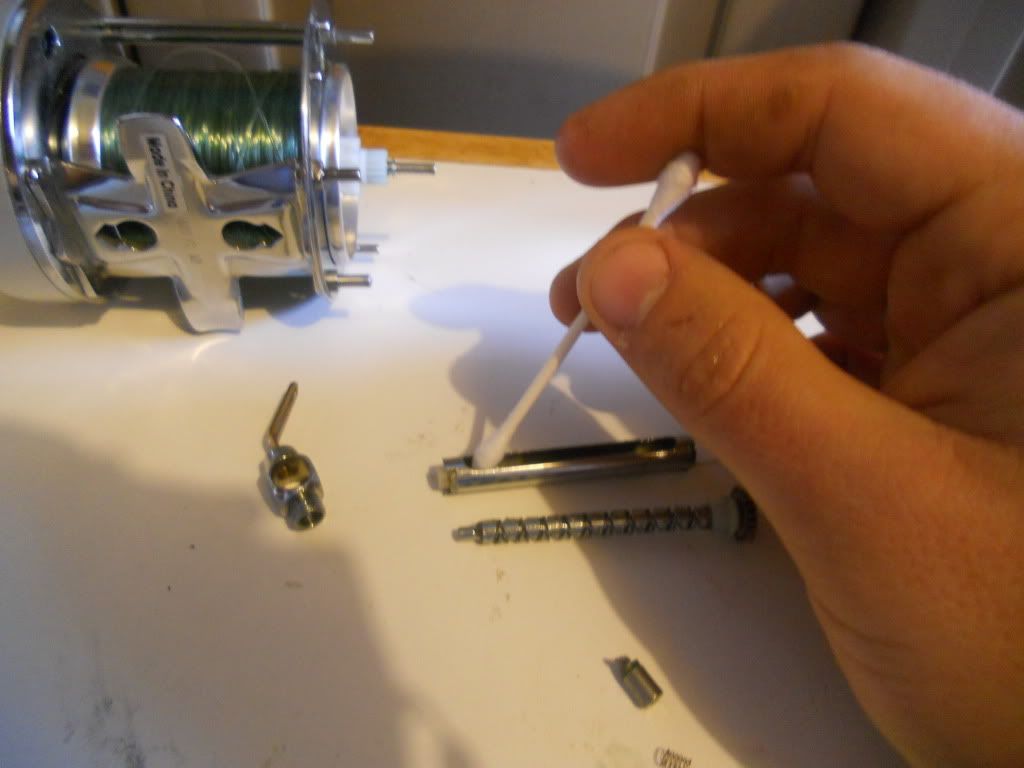
Some reels will also collect sand, dirt, or dust in the other bar that the levelwind fits into.
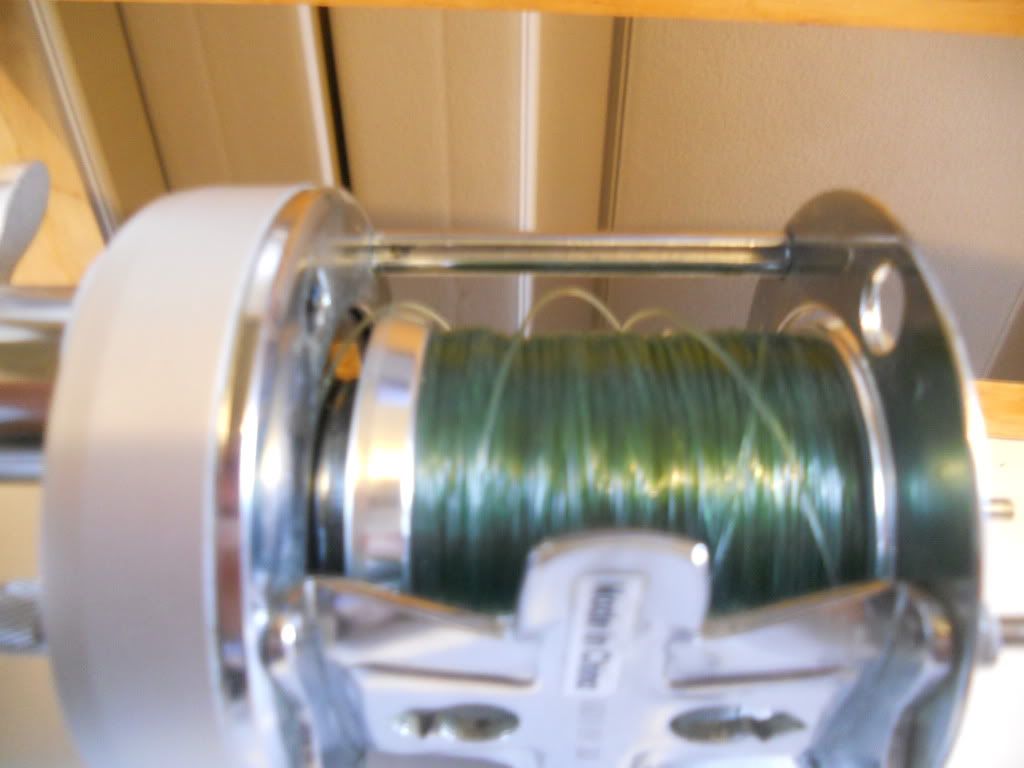
Replace the sleeve, worm gear, line pawl, line pawl cap, and the metal clip. Replace the three screws and side plate onto your reel. You can oil the worm gear before or after you place it back onto the reel. The next step is to move to the other side of the reel and loosen the three flathead screws that protrude the most.
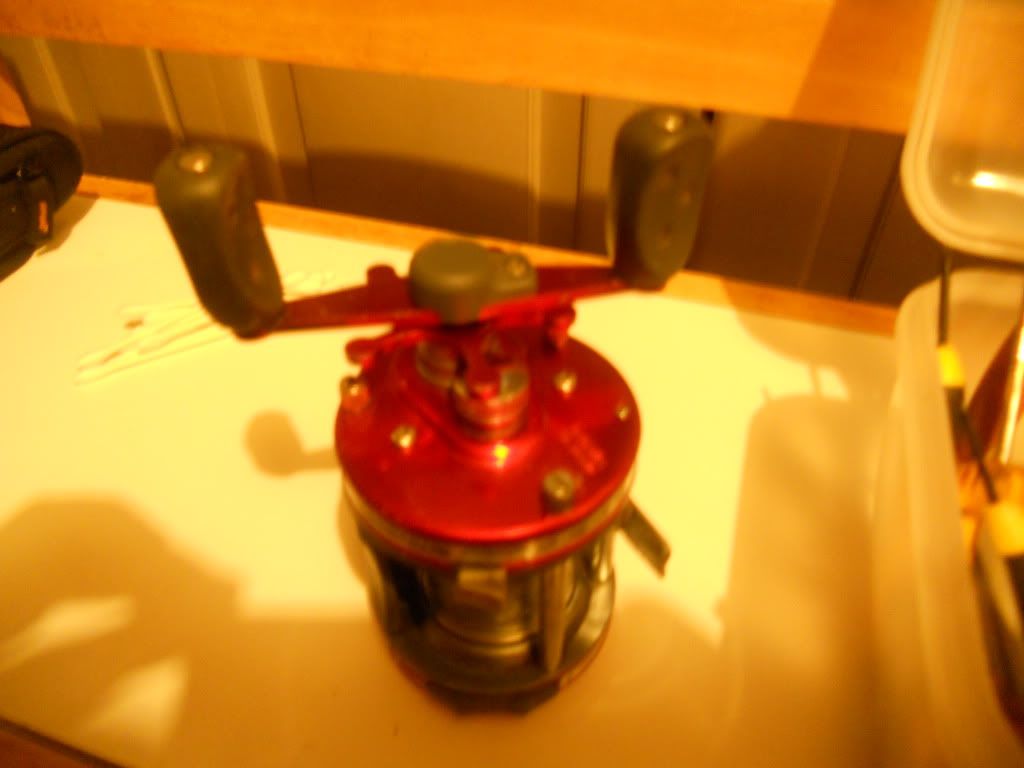
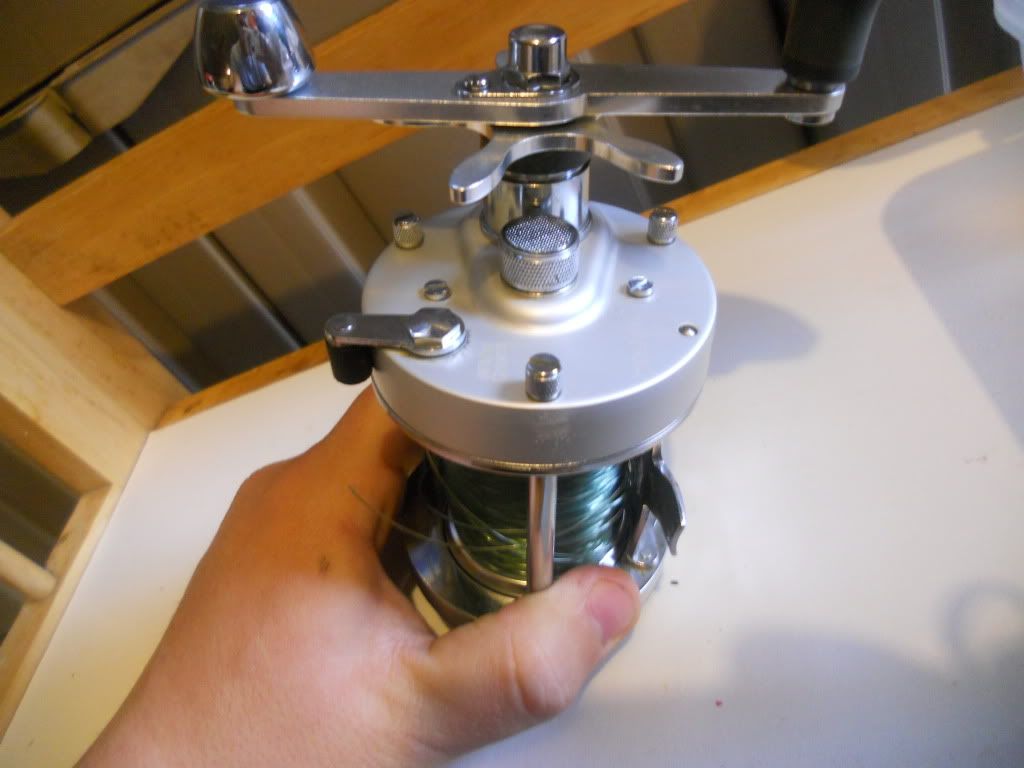
Once you have loosened each bolt, you can remove the side from the frame of the reel. It should look something like this.
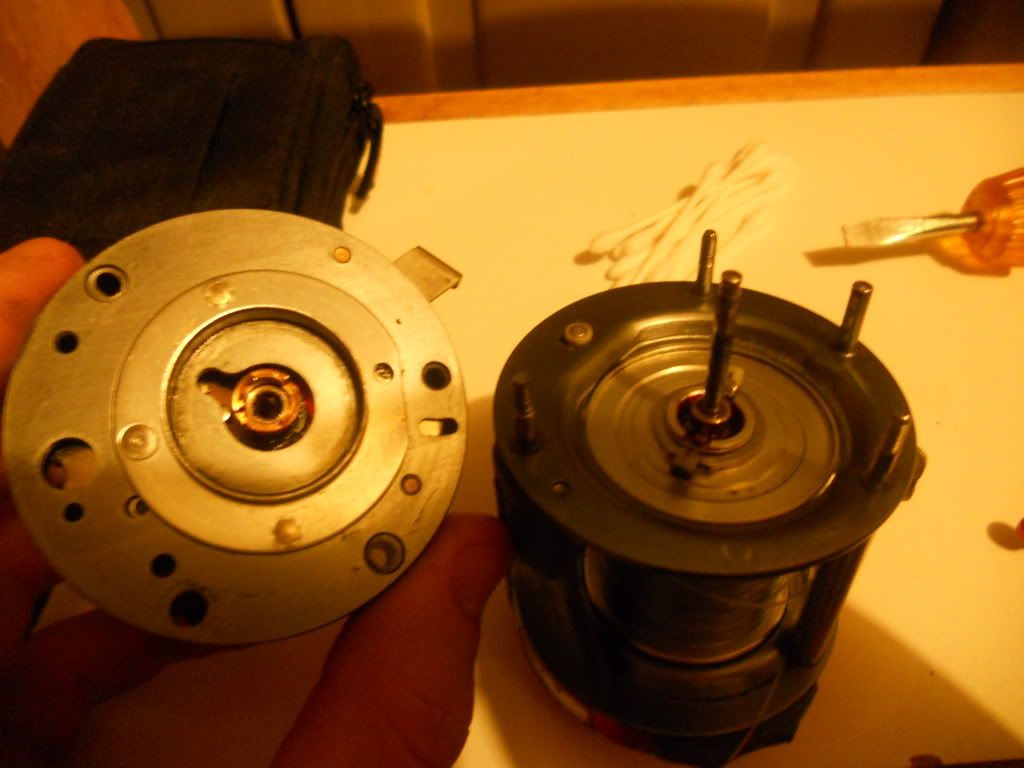
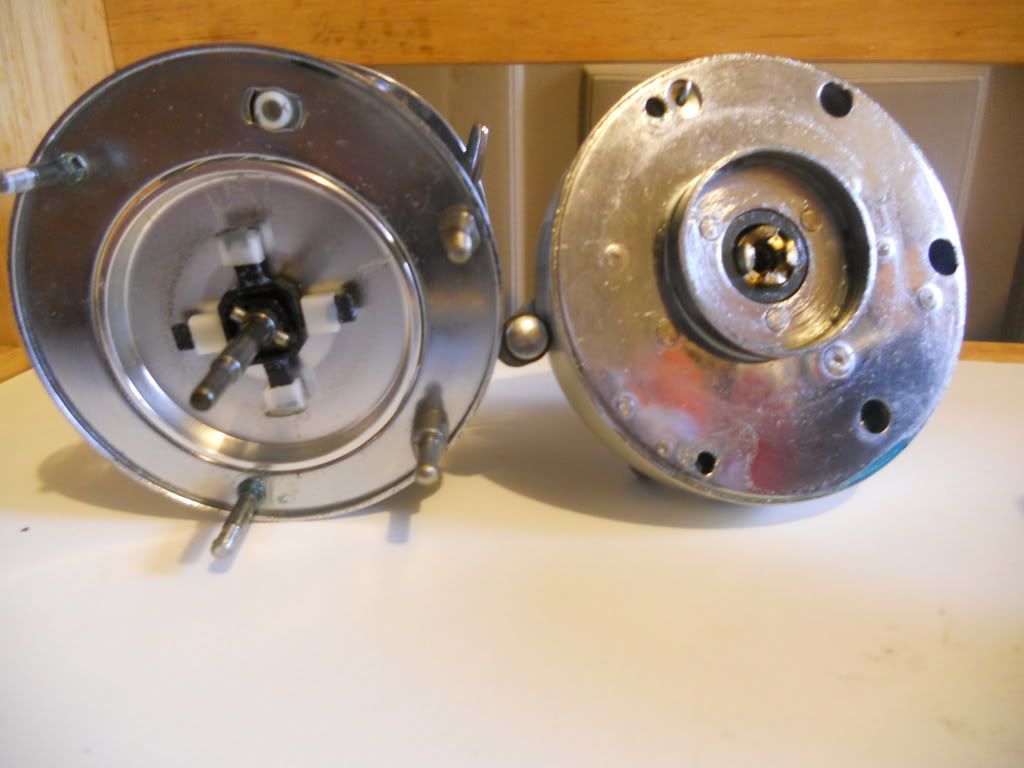
At this point you can remove any dust or sand that has accumulated around the spool. For most people this should be the ending point of the cleaning process. Exposing the gears is under most circumstances unnecessary. I cannot tell you how many hours I have spent looking at schematics to find the positioning of a spring or washer, all because I was curious. It’s important to note here that the older reels are easier to work on because they have less parts, and the smaller reels such as the 6000’s and 6500’s are fairly simple as well.
The larger models can be a pain. If for some reason you need to get to your gears and drag washers, here is how you would do it. (Reasons include extended periods of time spent in the river, exchange/upgrade of drag washers, etc.)First you need to remove the screw and washer holding the handle on. Lay them out in order from right to left, might even take pictures to eliminate any confusion. Remove washers, handle, washer, and drags star.
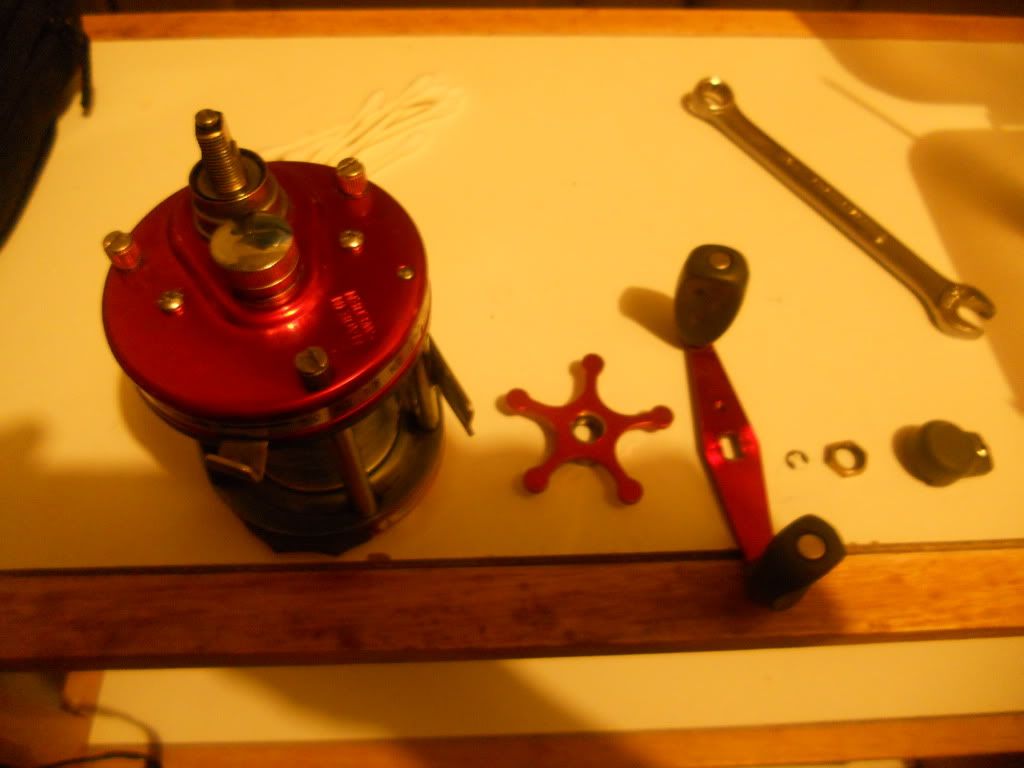

The next step is to remove the two screws near the brake adjustment knob. On the 6000 the two halves will separate, the 7000 isn’t quite as simple.

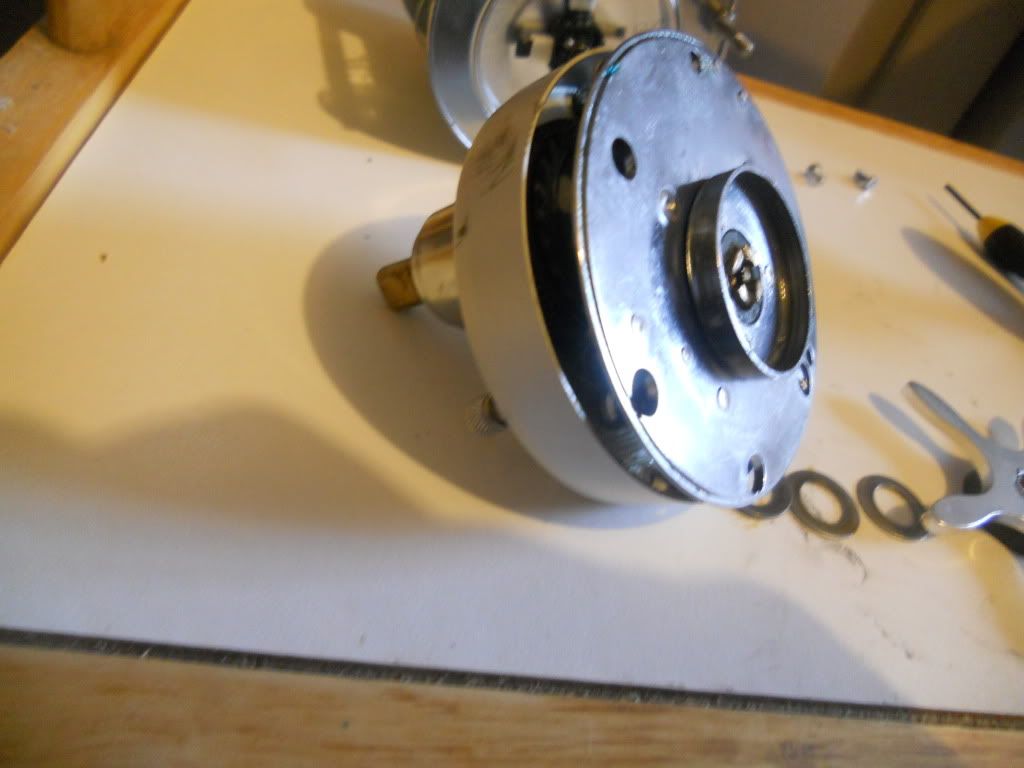
There is a spring that needs to be pushed through in order to release both sides. I’m no reel expert and I do not know exactly the “proper” way to do it, so I simply pull it through. Pieces will then fall out as if its raining reel parts. Don’t panic there are a few images later that show the proper positioning of each, and you can easily find a schematic online.
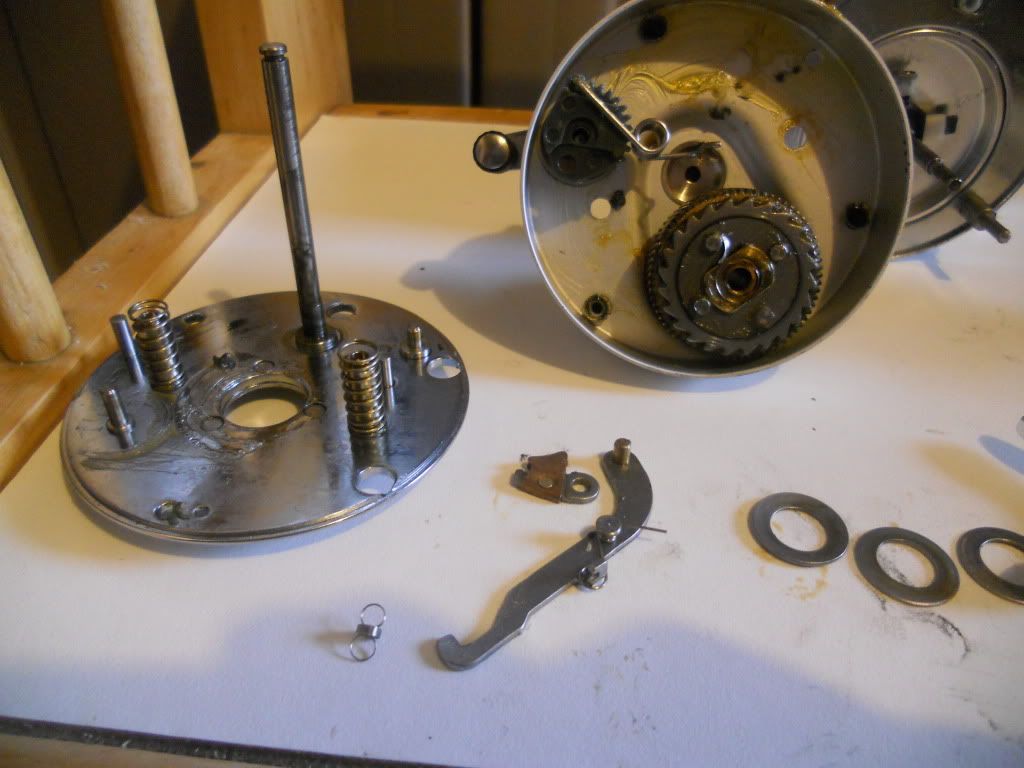
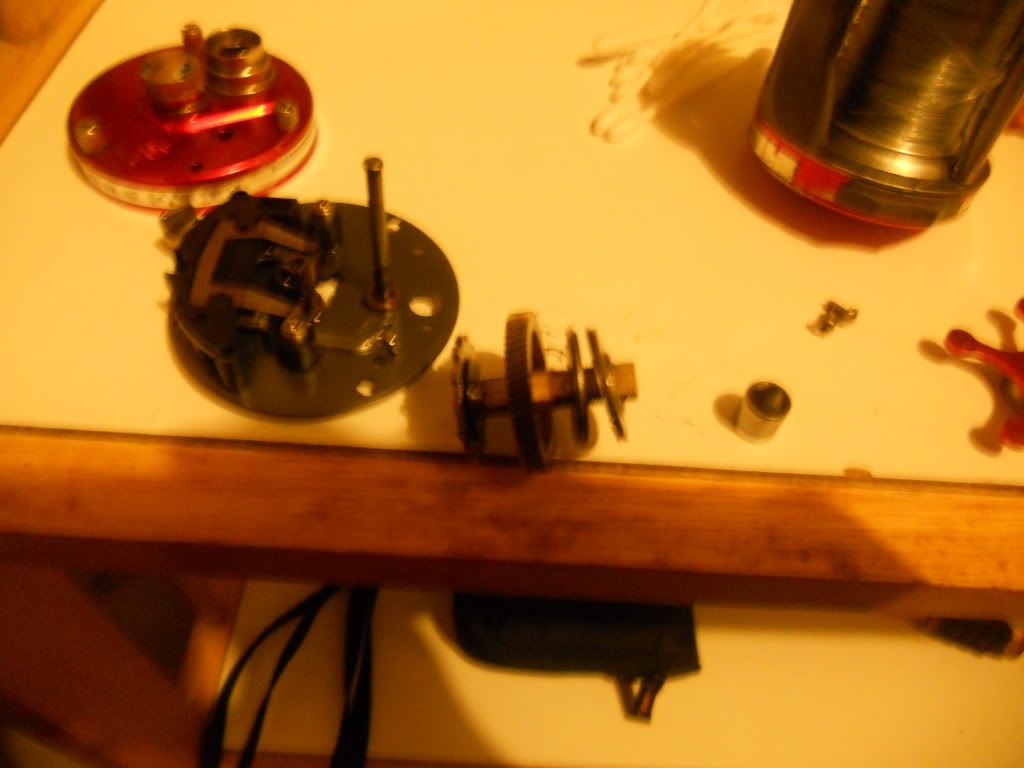
You are now free to remove any sand, old grease, or change drag washers. Below are pictures showing the 6000’s drag washer removal.
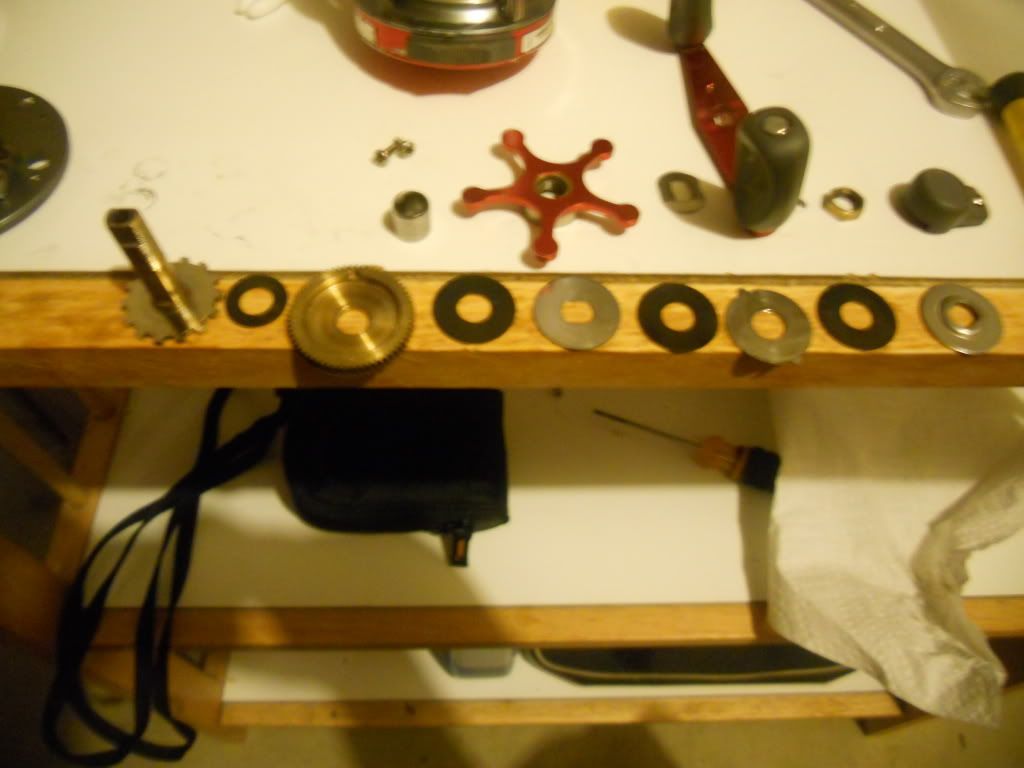
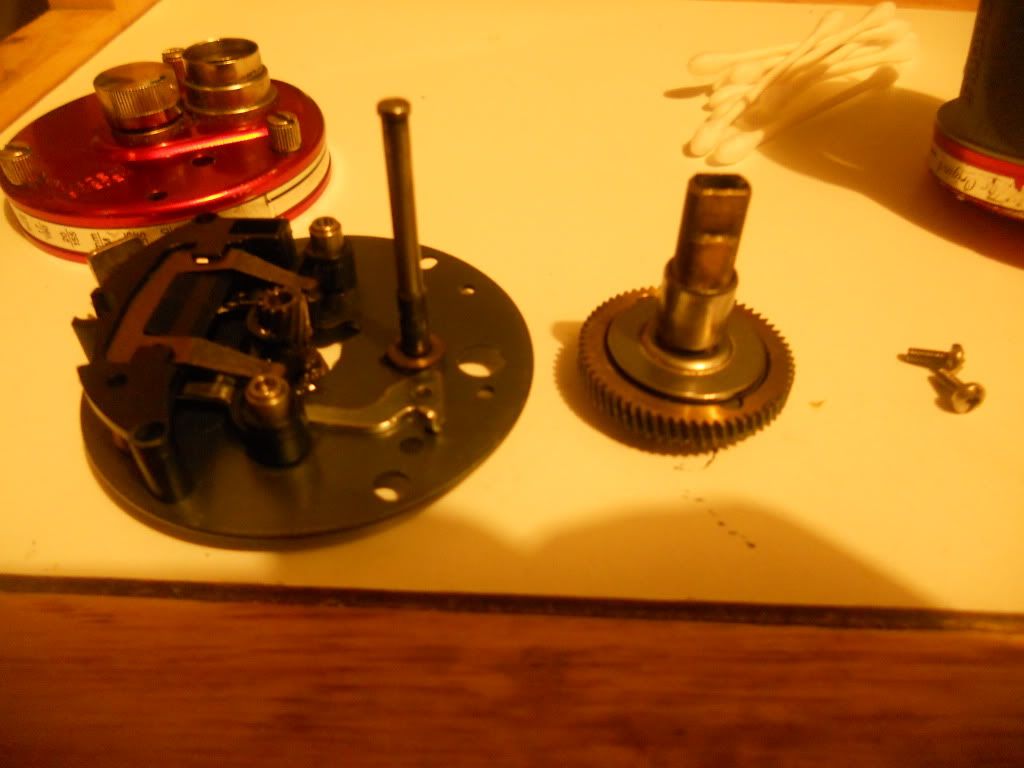
Here are the pictures of the 7000’s drag washers and the assembly of the loose parts.
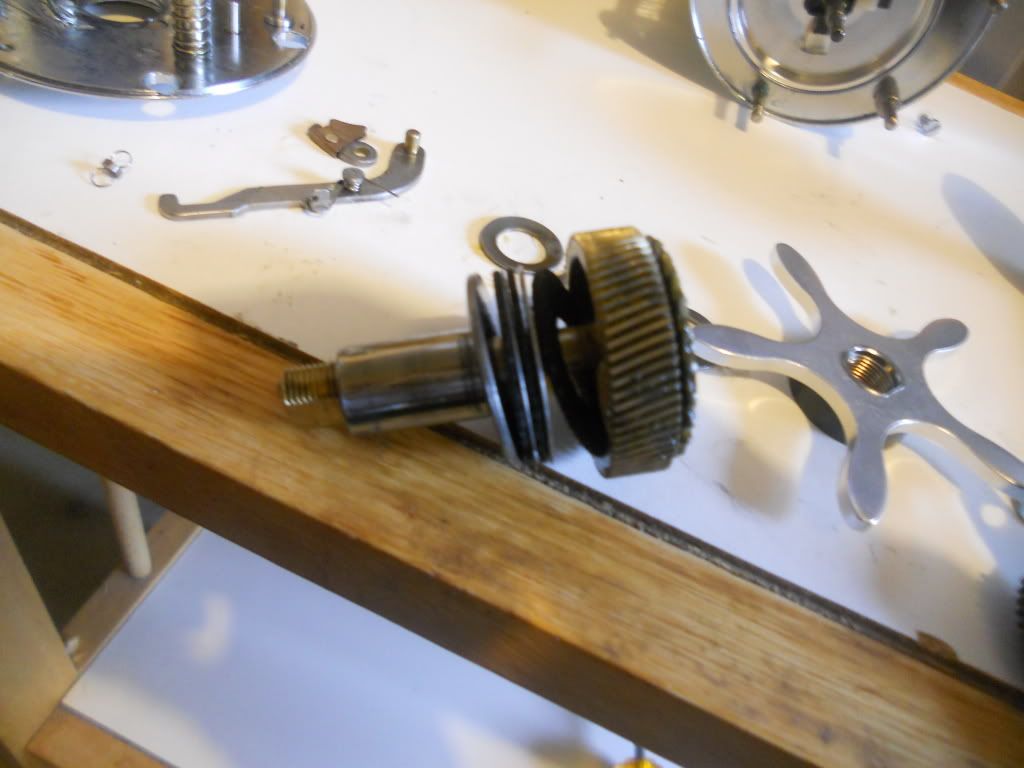
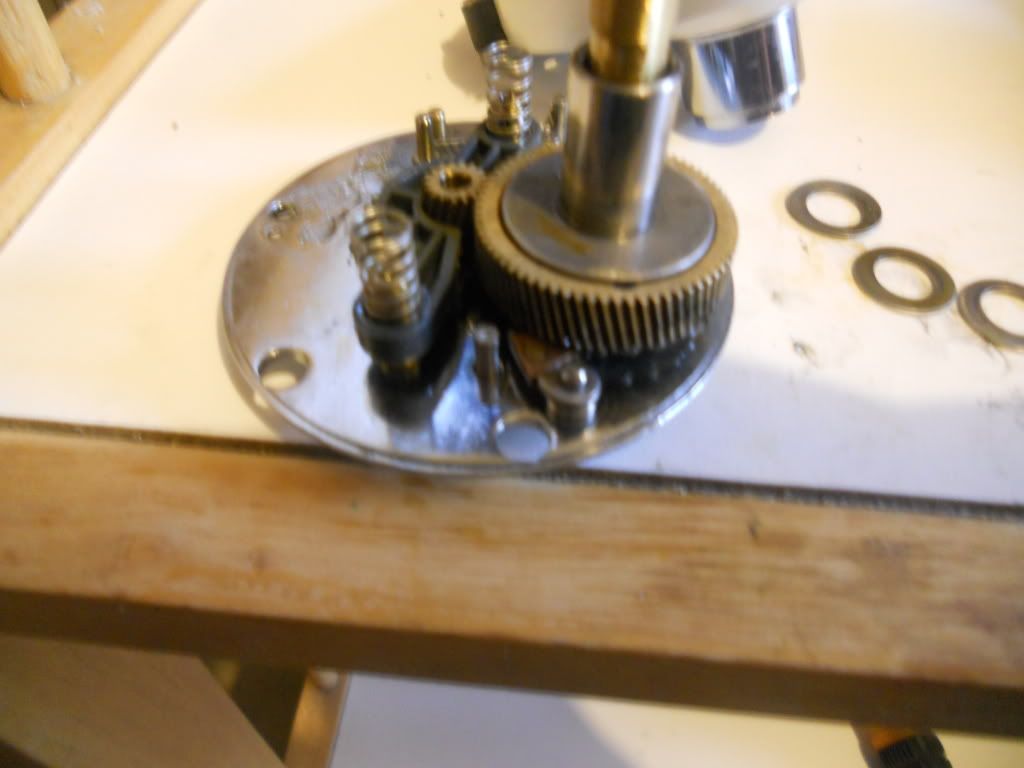
Simply put the 6000 back together…..drag washers…..side plate…..two screws….washers, star drag,handle, clip, bolt…etc. Place the side back onto the frame and tighten the three bolts.The 7000 will need some further explanation: First start by placing the spring on the same side as the gears, and drag washers. Run it through the side. Then place the top of the reel on the springs. Shine a light into the reel and line up the spring and the hole of the plastic piece on the lever release. Once in place align the remaining two pins and place the top of the reel in its final resting place. Replace two screws, and drag start/handle assembly together. Then tighten the final three bolts that hold the frame to the side plate. At this point you have successfully disassembled and reassembled your reel. Here’s a final note on lubricating your reel. DO NOT OVER GREASE YOUR REEL. Over the years I have been experiencing a reduction in performance of my reels. I have since stopped greasing my reels and began using quantum’s hot sauce oil. It is said to bond molecularly with metal to create lifetime lubrication. Having all of the same properties as grease except having a thick viscous form, which reduced reel performance. Here is a video of a greased Abu Garcia kalex 60 that I cleaned of grease and replaced with oil. Notice how the greased kalex’s levelwind would only move one time from one side to the other. The oiled kalex’s levelwind moved significantly faster and twice as far from one side to the other. The brake was not adjusted.
Here's a link to the blog:
www.esbfishing.blogspot.com
Like I said, its preliminary right now but were open to suggestions. Thanks
Winter is one of the best times to clean your reels. Most people have packed away rods and reels and are awaiting the first sign of cabin fever. Last night and this morning I took apart and cleaned two of my reels, an Abu Garcia Ambasadauer 6000, and an Abu Garcia Ambasadauer 7000c3. I would like to note here, early, that its not a good idea to start tearing your $100-$180 reels apart. However with a few tools, a clean work space, a few q-tips, some paper towels, some rubbing alcohol, and some oil you can easily clean your reels. I begin each process with a clean workspace and my set of tools,easily stored in an old cast net container.


My tools include small phillips and flathead screw drivers, a 10 and 11 millimeter wrench, needle nose pliers, and oil/grease. I begin by taking the three screws off of the bait clicker side of each reel. This side of the reel is the simplest, and is easy to put back together, even for the mechanically inclined.


Once the screws are removed and set aside, you will see your bait clicker mechanism and your spool as shown below.


At this point you can remove any dust or sand that has accumulated inside your reel with a q-tip or paper towel and then oil lightly. It’s important to note here that Abu Garcia makes several different style clickers and for the most part they are simple. My abu 6500 has a side plate clicker, and my kalex 60 has a plastic sliding clicker mechanism. Both are fairly simple once you understand the mechanics. If you are unsure of how your reel will go back together once you tear it apart, you probably shouldn’t take it apart….or you can find the reel schematics online from <a href="http://www.abugarcia.com/" target="_blank">http://www.abugarcia.com/</a>.
The next step is to access the line pawl and the worm gear. First start by sliding the metal clip up and away from the end of the worm gear as shown. Next unscrew the line pawl cap and remove the line pawl with the needle nose pliers. Then slide the worm gear and the metal sleeve out. Lay them on the table in order to help you remember how each piece fits back together.


These parts are most apt to collect sand and dust. Hence the reason for line pawls needing constant replacement. You can tell if your line pawl goes out if your levelwind gets stuck on one side of your reel. The line pawl is made of a softer metal than the worm gear and therefore it wears over time. I think you can get them for about $4 from most Abu Garcia dealers, or bait stores. Clean the worm gear with warm soapy water and remove sand and grease from the sleeve using a q-tip.

Some reels will also collect sand, dirt, or dust in the other bar that the levelwind fits into.

Replace the sleeve, worm gear, line pawl, line pawl cap, and the metal clip. Replace the three screws and side plate onto your reel. You can oil the worm gear before or after you place it back onto the reel. The next step is to move to the other side of the reel and loosen the three flathead screws that protrude the most.


Once you have loosened each bolt, you can remove the side from the frame of the reel. It should look something like this.


At this point you can remove any dust or sand that has accumulated around the spool. For most people this should be the ending point of the cleaning process. Exposing the gears is under most circumstances unnecessary. I cannot tell you how many hours I have spent looking at schematics to find the positioning of a spring or washer, all because I was curious. It’s important to note here that the older reels are easier to work on because they have less parts, and the smaller reels such as the 6000’s and 6500’s are fairly simple as well.
The larger models can be a pain. If for some reason you need to get to your gears and drag washers, here is how you would do it. (Reasons include extended periods of time spent in the river, exchange/upgrade of drag washers, etc.)First you need to remove the screw and washer holding the handle on. Lay them out in order from right to left, might even take pictures to eliminate any confusion. Remove washers, handle, washer, and drags star.


The next step is to remove the two screws near the brake adjustment knob. On the 6000 the two halves will separate, the 7000 isn’t quite as simple.


There is a spring that needs to be pushed through in order to release both sides. I’m no reel expert and I do not know exactly the “proper” way to do it, so I simply pull it through. Pieces will then fall out as if its raining reel parts. Don’t panic there are a few images later that show the proper positioning of each, and you can easily find a schematic online.

You are now free to remove any sand, old grease, or change drag washers. Below are pictures showing the 6000’s drag washer removal.


Here are the pictures of the 7000’s drag washers and the assembly of the loose parts.


Simply put the 6000 back together…..drag washers…..side plate…..two screws….washers, star drag,handle, clip, bolt…etc. Place the side back onto the frame and tighten the three bolts.The 7000 will need some further explanation: First start by placing the spring on the same side as the gears, and drag washers. Run it through the side. Then place the top of the reel on the springs. Shine a light into the reel and line up the spring and the hole of the plastic piece on the lever release. Once in place align the remaining two pins and place the top of the reel in its final resting place. Replace two screws, and drag start/handle assembly together. Then tighten the final three bolts that hold the frame to the side plate. At this point you have successfully disassembled and reassembled your reel. Here’s a final note on lubricating your reel. DO NOT OVER GREASE YOUR REEL. Over the years I have been experiencing a reduction in performance of my reels. I have since stopped greasing my reels and began using quantum’s hot sauce oil. It is said to bond molecularly with metal to create lifetime lubrication. Having all of the same properties as grease except having a thick viscous form, which reduced reel performance. Here is a video of a greased Abu Garcia kalex 60 that I cleaned of grease and replaced with oil. Notice how the greased kalex’s levelwind would only move one time from one side to the other. The oiled kalex’s levelwind moved significantly faster and twice as far from one side to the other. The brake was not adjusted.
Here's a link to the blog:
www.esbfishing.blogspot.com
Like I said, its preliminary right now but were open to suggestions. Thanks



 rollo
rollo


